Add REAL vinyl to your Rane 12 or Rane One

Rane shocked the DJ community when they announced the release of Rane 12; a motorized DJ control system without a tone arm, meaning no record skippage or tone arm hopping. I was new in my DJ journey. However, having been intimidated by the cost, maintenance and expertise needed to operate turntables with the traditional needle setup, I opted for the Rane 12s.
Later on as a I got more comfortable with needles and turntables I identified something was missing for me on the Rane 12s
One of the biggest features I missed out on when moving to the Rane controllers was the authentic vinyl experience. The control disc included was great, but after becoming a fiend for the vinyl experience I knew that I had to figure something out. I prefer the tactile touch of real vinyl.
After messing up multiple pair of control vinyl, I have figured out the best approach to ensure you get yours right.
Looking for the real vinyl feel to add to your Rane One or Rane 12? Read on to see how to customize your controller.
We’ve included a list of all the equipment needed and where to purchase. In this guide we will be using the Rane One, although we have used this method on both systems.
In a quick summary
Drill holes into the appropriate sized vinyl for your controller, attach the quick release lock, and play on. In this guide will walk you through the most effective way to do it to ensure it’s done correctly. For a more detailed step by step we’ve provided the pieces and tools necessary to appropriate customize.
Full Guide:
Here is what you will need:
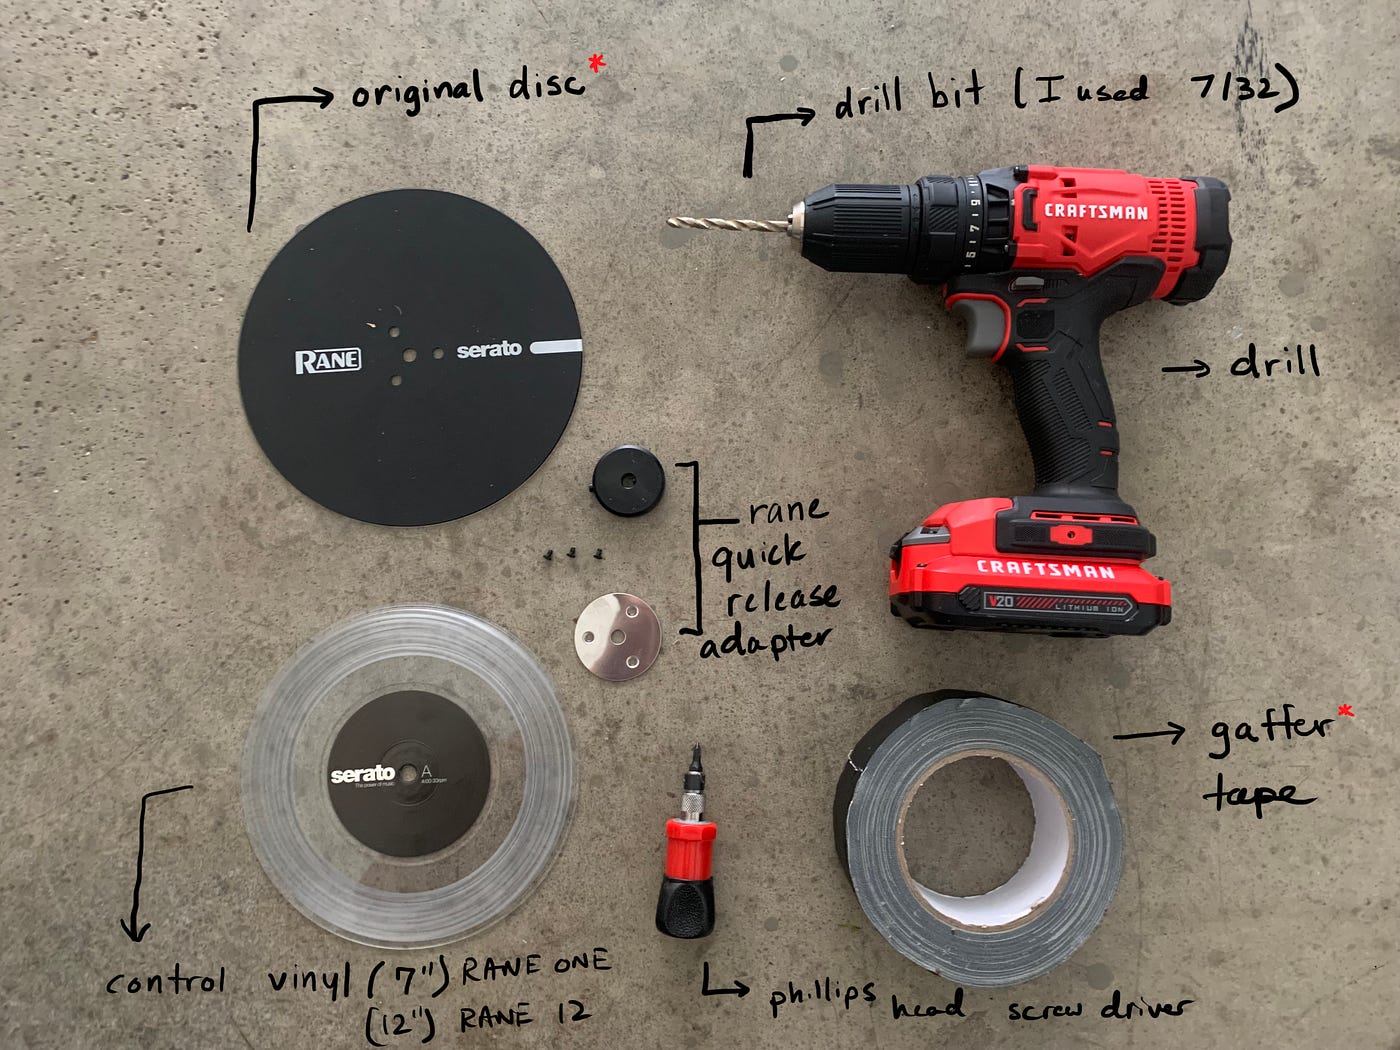
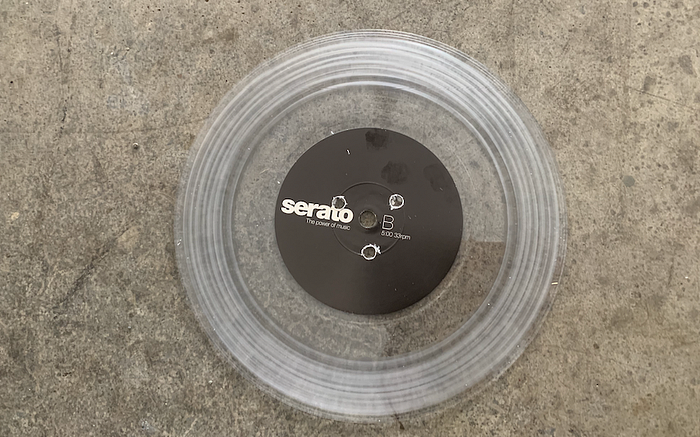
· Control Vinyl (12” for Rane 12; 7” for Rane One)
· Phillips head screw driver
· Drill (exact model I used)
· Drill bit (I used 7/32)
· Rane Quick Release Adapter (purchase here — you can use the one included on the original control disc)
· Gaffer tape* (purchase here)
· Original disc*
*not necessary to complete project
STEP 1:

Remove quick release adapter from the original control disc included with controller.
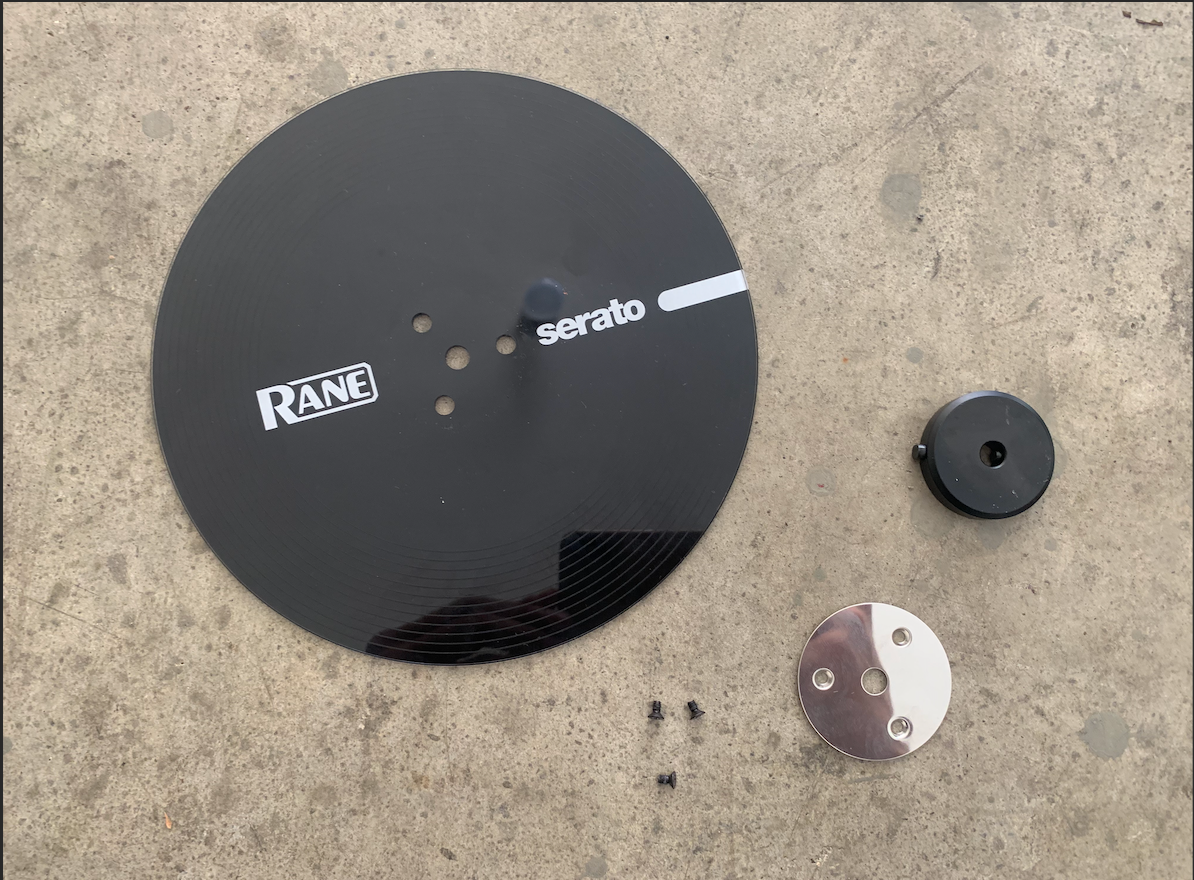
The little screws are tough to keep a hold, I would recommend a magnetic screw driver to keep them from falling away.
STEP 2:
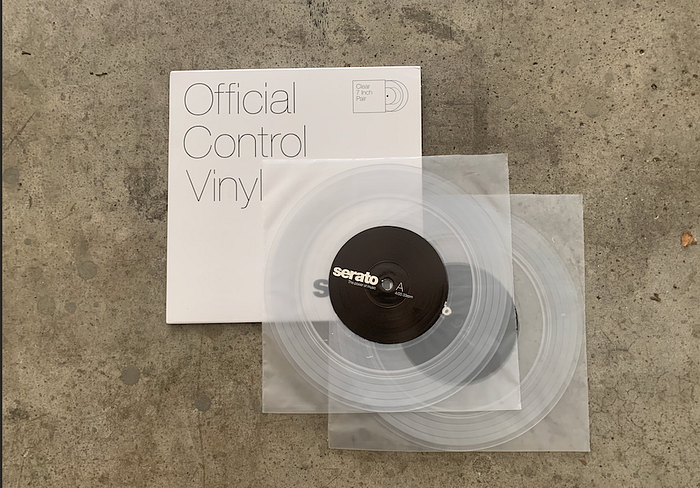
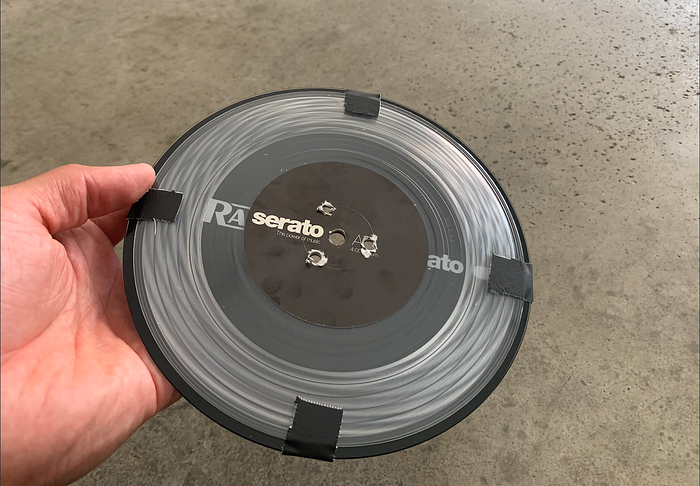
Select appropriate Control Vinyl to replace disc with. Line up new control vinyl with old control disc that is to be replaced. Be sure that the center spindle hole is lined up, then tape together.
I use gaffer tape because it does not leave behind a residue. I would avoid most other types of tape on this project.

You will want to be sure you line up the records as accurately possible to avoid having to redo later steps. I set both records on the spindle at the same time and then tape together.
If you don’t have the original records, you can mark on the records with a sharpie in the appropriate drill spots.
STEP 3:
Grab the 7/32 drill bit. I found this size best fits the holes in the original control disc. Set the records on a safe drill-able area. For me, I balance the record between cases and drill through the control vinyl.
Having taped the records together in the previous step helps in this step as it will serves as a guide.
STEP 4:
Take apart the records taped together.
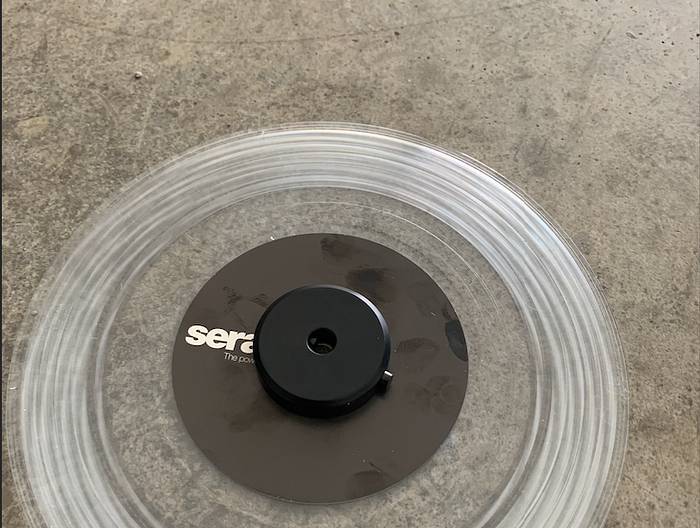
Take the quick release adapter a screw into the new control vinyl. Ta-da. But you’re not done yet!
STEP 5:
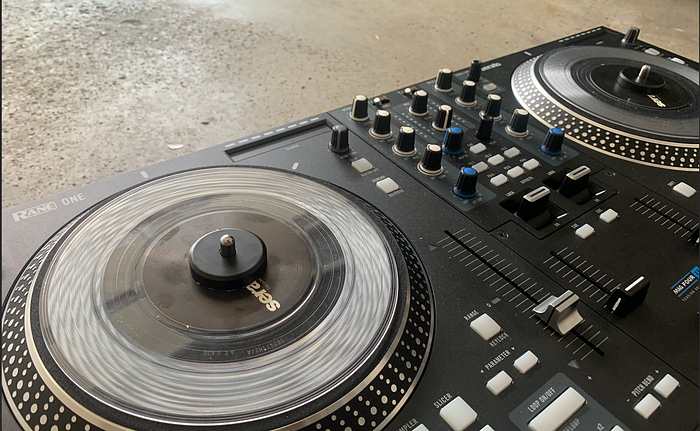
Place the new records back on to your controller. You should be good to go. You now have a digital vinyl experience on your battle ready controller.
Messed up and it doesn’t work?
If it’s tight on the spindle or does not lock in, don’t fret. You may have not evenly drilled your holes. This fix is easy. Undo the adapter, and eye out which hole is off, then use the drill to make the hole slightly bigger. It will not ruin the record, as the middle hole is really the only hole that must be perfect… but guess what? It was there before you got started with the project ;).
If your holes are a little “off” just be aware to not tighten up the screws all of the way. Place the entire piece UPSIDE DOWN back onto the controller spindle, it will correct itself. Then, tighten the screws up and it should be better.
Questions? Hit me up. Contact info below.
Iman Tucker a proud member of Believe Brand Co.
Believe Brand is a faith based apparel company who exists to allow others to express their faith and contribute to local causes through the proceeds.
SHOP APPAREL: https://believebrandco.com
DJ SITE: https://believebrandent.com
Follow me on IG: @Iman_Tucker